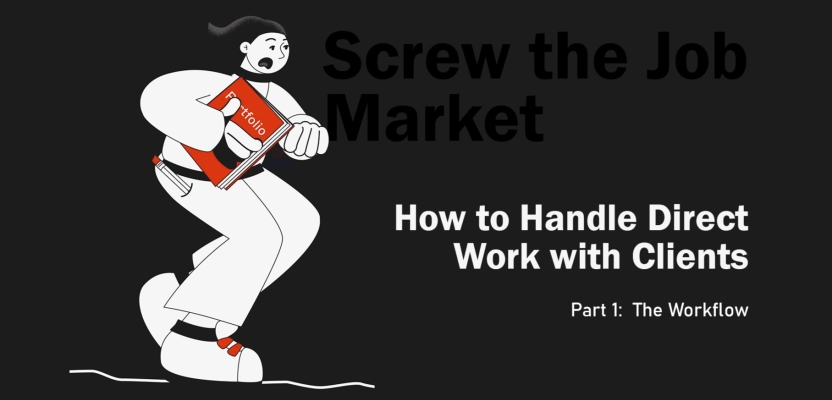

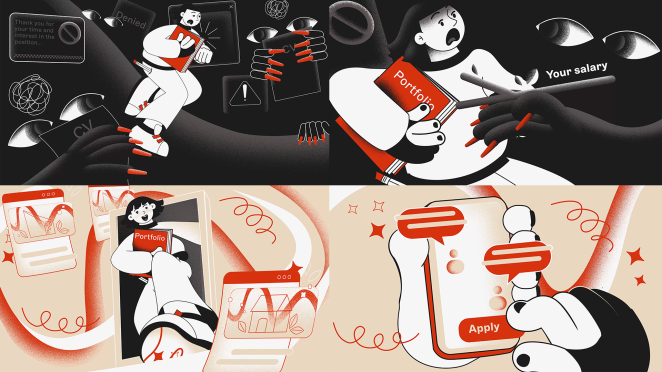
Well, my friends, I can see how the job market is collapsing into chaos. Companies find it less and less profitable to hire employees, and I think this trend will continue for some time. Freelancing is becoming more popular also because right now it’s the era of individual work. Before, you needed a team, but now, thanks to AI, you can take on a full production cycle by yourself. Yes, it’s a big workload, and yes, it’s scary. So in this article, I’ll help you understand how to take on a full project and not be afraid of it.
The key rule is baby steps. Your job is to break down a big scary task into several small steps you can definitely handle, and then slowly move along the plan.
Let’s take a real-life project as an example — this one:
https://creativepool.com/anastasiia-zaesenok/projects/duke-talent-motion-design
Here I was responsible for everything: art direction, illustration, storyboard, animation, sound design.
So,
1) The first step is to figure out the task
What is the project’s goal, what’s the target audience, what’s the brand’s guidelines? When working directly with clients it’s not just about making something beautiful — it’s about understanding that this “beautiful” thing must serve specific goals. You need a thorough, independent analysis of the task. Ask questions, clarify things: why, for whom, what for? This is important even if the client is just entering the market and their project is only starting out, because later some nuances might surface.
In our case: the platform that needed the video was aimed at architects and interior designers. The platform had its own guidelines with colors and fonts. The client also had a rough script, where the main character goes through bad job offers and endless HRs, then enters the world of Duke Talent (our platform) where everything is great. I gathered all this information and wrote it down.
You can make a list for yourself of key things to keep in mind. After this stage, our clearly defined task sounded like this: We need to create an ad video aimed at designers, architects, and studios. It should reflect that the platform is serious, yet simple to use and effective. While maintaining seriousness, the video should also be dynamic and engaging — something people would want to watch rather than skip.

Some print screens from the guideline
2) Defining the style through references
Here I was digging through Pinterest, searching for the right vibe, and also thinking through the script in more detail. How to show it clearly, how to portray two different worlds — with Duke Talent and without it. How to make the video dynamic and interesting. We agreed on references like these.

Some cool references for our project from Pinterest
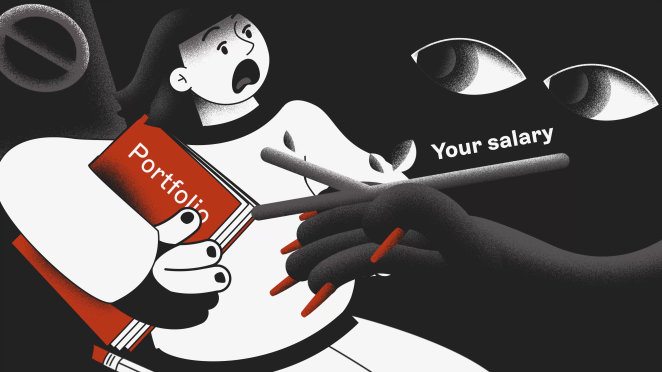
I thought it would be cool to make it in a kind of horror vibe. The character doesn’t just walk, he runs. HRs aren’t just abstract people from Freepik, but long arms with nails, chasing our candidate, handing him a huge falling list of requirements and “salary in branches” (a little inside joke people in the creative industry will get). After agreeing on all this, we moved on.
3) Storyboard
A solid storyboard is the foundation of your project. At this stage, you build a visually clear and engaging story. You need to give this part special attention. How to make it easier? I don’t focus on style or detail. I do everything in sketches. Here you need to carefully plan angles, shots, camera turns, smooth transitions that tie everything together. Focus on this: how strong the composition looks with just sticks and circles, how logical the shot changes are, and how clearly your idea comes across.
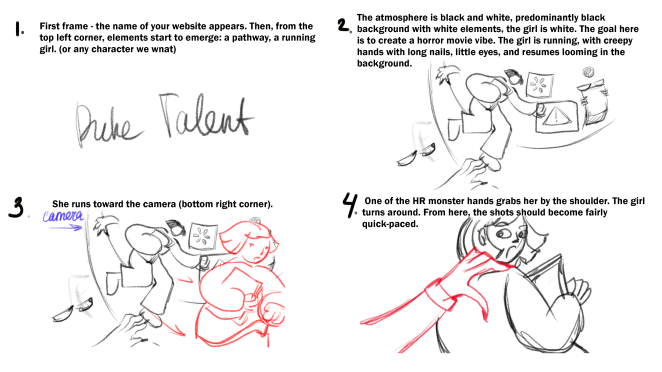


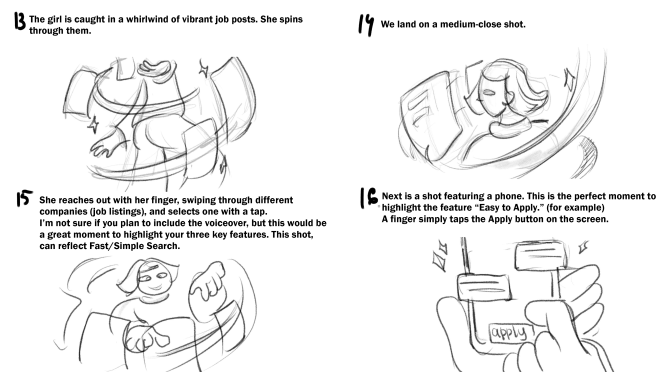
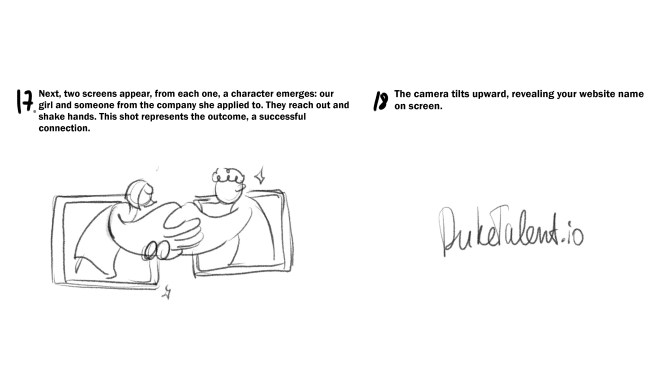
This is how I usually present the storyboard to the client: in very rough sketches with comments.
4) After approving the storyboard, we move to final illustrations
Here it’s time to focus entirely on style. Each frame should look good on its own, as if it could exist without animation. If your frame is weak on its own, animation won’t save it. In this project, I was assembling frames directly in After Effects to save time later. We only had a few colors, and I stuck to them. Using color, I divided the animation into two parts: the dark world (without Duke Talent) and the light world (inside the platform). The idea is simple, but it highlights the concept perfectly.
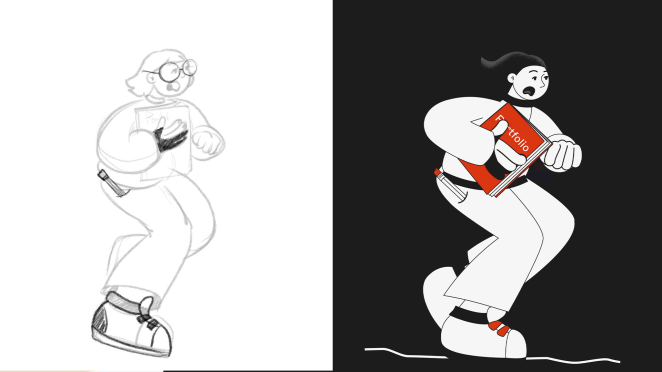

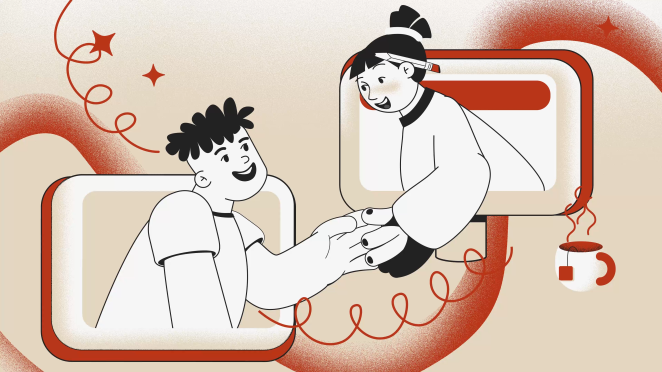
Some Style Frames for the Duke Talent project
5) Animation
The final stage. If you’ve aligned every step with the client along the way, this stage should go smoothly with minimal revisions. In our project, the animation is not as complex as it might seem at first glance:
-
We have a running character, a looped movement;
-
Close-up shots with simple animations: breathing, eyebrows, eyes;
-
One complex and impressive camera turn in the transition part, which really amplifies the effect of moving from one world to another. Yes, that one was time-consuming, but it’s just one for the entire video, and the effect is huge.
All of this is accompanied by super-simple environment animation. But combined, it all creates impact:
-
A solid storyboard,
-
Strong standalone frames,
-
Animation that enhances it all.
6) Sound design: the last but very important step
The final presentation for the client I always deliver with sound. It creates a wow-effect, enhances the impression of animation, and also shows you as a professional. At this stage, you can pick sounds from the public domain, generate them, collaborate with a sound designer, or maybe you can do it yourself? There are plenty of options. But I strongly recommend never skipping sound when working directly with clients.
So, my dear friends, here’s what I want to say in conclusion. If you just graduated, or if you’re a pro but struggling to find work — don’t be afraid to work directly with clients, to take on big projects, and bring in other creatives when needed! Just go for it! Sending hugs to you all ❤️