


In 2019, the world of marketing is more visual than it ever has been. Big social channels like Instagram and Pinterest focus on amazing visuals, while print materials have reached new levels of sophistication.
An engaged audience expects beauty alongside information, even in presentations or display ads. That’s why Shutterstock launched its free Editor tool in 2016 – to enable anyone to design and create their own marketing materials without the need for expensive software or design training. Since then, more than five million users have discovered Editor as a powerfully simple way to create designs.
Editor has become an essential design tool for busy marketers and small business owners who need professionally designed templates and the ability to build complete designs before committing to licensing an image for their project.
We’ve rounded up the five top tips to help you master the tool as a way of celebrating its success since launch.
1. Kickstart your design with pre-made templates
When you’re strapped for time or you’re not sure how to start a design, templates are a lifesaver. With over 150 options for social media, presentations, eBooks, and more, you can complete a fully customised design in minutes.
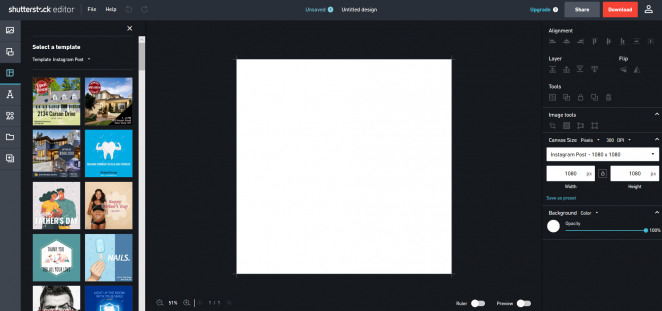
On the Editor home page, a popup menu will take you from a blank page through to a finished design, starting with the size of your canvas. A huge selection of pre-designed templates will then appear for you to browse through. Once you’ve decided on a template, click on the design to customise it to fit your needs by updating the imagery, typography, and copy.
Any saved designs will reappear later in the My Designs tab on the homepage.
2. Personalise your design with access to Shutterstock’s image library
Editor doesn’t just offer design tools – it also gets you access to Shutterstock’s library of over 260 million images to help you personalise your design. With a search bar built into the online application, you can easily discover, preview, and download the right content with just a few clicks.
If you’re using a template and want to switch up the imagery, it’s easy to find something similar with the “Search related images” feature. The AI powered search engine will return matches for any photo, vector, and illustration you choose.
Editor is also great for editing these photos you chose. With advanced photo retouching functions, you can change the look and feel of any photo, even ones that you upload yourself. You can also set image dimensions and use the crop tool to size photos perfectly.

3. Add context to your design with great typography
A design is nothing without great typography. Editor lets you choose from 150 fonts, including display and handwriting fonts, that fit your brand and your message. Even better, Editor supports multilingual text so that you can communicate locally to your audience.
The Editor text feature is an effortless way to create the perfect Facebook ad, Twitter promotion, or Instagram post in one quick, painless process.
Simply click on the ‘text’ option on the left sidebar where you can choose to add a headline, sub-headline or body text to your design. It also gives you template options for text which can be easily dragged onto your image and edited once there.

4. Create more than one design with Editor’s multi-page function
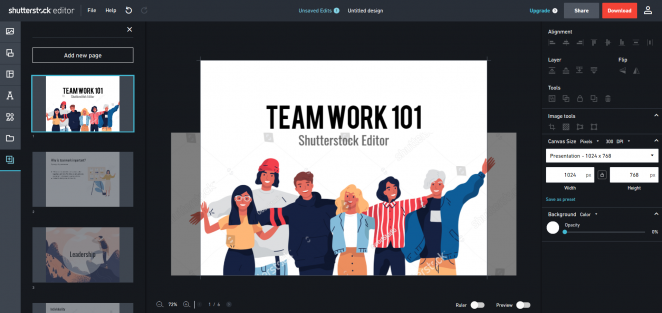
In Editor, you can add pages to your designs, making it easy to create materials with multiple pages, like PDFs and presentations. In fact, Editor has multi-page templates for presentations, with a custom look for every slide.
Flick between your designs easily by selecting the ‘pages’ option on the left side-bar where you will find all your saved pages and have the option of adding more.
5. Collaborate with others through seamless integration
Before you commit to a design and license any images, you can send and share them to your colleagues or clients. With simple sharing features (found in the top right-hand corner), you can email a design to anyone in order to review. You can also save and return to any of your designs in the future.
Depending on how you like to collaborate with your colleagues or clients, you can share your design either via social (Twitter or Pinterest), email or get a shareable link where anyone with it can view the design. The sharing function avoids you spending unnecessary money on licensing the Shutterstock images used in the design before it has gone through final approvals.

Did you know that if you use Google Slides for your presentation and infographic creation, you can download the Shutterstock Editor Chrome Plugin? The plugin seamlessly allows you to use the editing experience within your creative workflow without having to leave the application. By using Google Slides with Editor, it allows you to collaborate live with others throughout the creation process.
So why not join the five million people already using Editor to create personalised creative content, all for free? Click here to get started.