
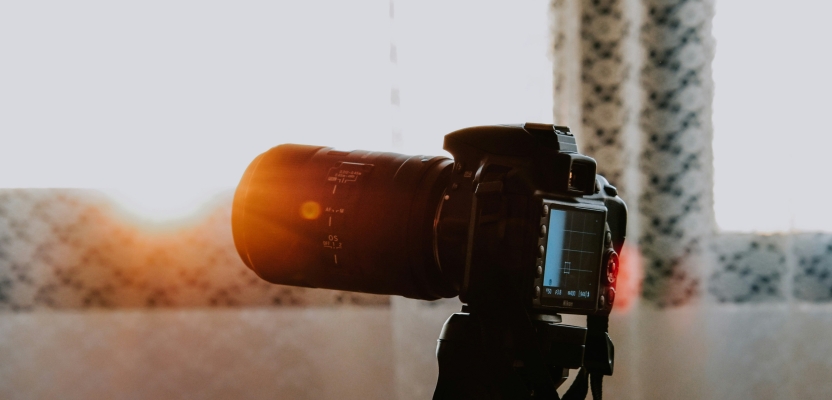

Photography light is crucial in any style or genre of art, and portraits are no exception. It shapes the future image’s technical aspects and defines its emotional impact. The main criteria characterizing portrait illumination are its intensity and direction.
It can determine your picture’s mood, focus, and depth, whether soft, diffused glow or sharp, directional illumination. Front lighting reduces shadows for an evenly lit face, while side lighting introduces contrast and texture for extra dimension. Backlighting, however, can create a dreamy halo effect or striking silhouettes.
This article observes the essential tools, fundamental techniques, and applicable practical tips to help you find the best lighting for portrait photography and use it effectively for your creative endeavors. These recommendations will enable you to transform ordinary portraits into captivating works of art, regardless of setting or style.
Essential Types of Portrait Lighting
Rembrandt Lighting
This classic technique, named after the famous Dutch painter, adds depth and drama to a visual narrative. A small triangle of light under one eye is created when the illumination source is positioned about 45 degrees from the subject. This setup perfectly creates moody, mysterious, textured images, properly highlighting the model’s features.
Butterfly Lighting
A small shadow is cast under the model’s nose, resembling butterfly wings. A direct front beam flatters symmetrical faces and highlights cheekbones, making this type of portrait light inevitable for glamorous and elegant fashion and beauty shots.
Loop Lighting
In this technique, the illumination source is located slightly above and to the side of the subject. A small shadow loops around the model’s nose, perfectly balancing shadows and highlights. It is a versatile trick, great for casual portrait photography, where depth and softness should be perfectly balanced.
Split Lighting
Here, the model’s face is divided into equal halves, with one side fully illuminated and the other in shadow. Bold, high-contrast images captured with this approach will elevate your conceptual and fine art photography portfolio. Photo editing tools like Aperty will let you maintain a perfect balance between overexposed and underexposed areas.
Broad and Short Lighting
Broad lighting illuminates the side of the face turned toward the camera. It makes narrow faces wider and softer, conveying an approachable feel in lifestyle and portraits. In contrast, short lighting illuminates the side of the face turned away from the camera. Enhanced shadows and deep contrasts work as attention grabbers for commercial visuals.
Tools and Equipment
-
Softboxes and umbrellas create a soft, even glow, reducing unwanted shadows. Softboxes are ideal for illuminating specific parts of your subject, while umbrellas provide broader coverage.
-
Reflectors bounce the illumination back onto your subject, filling in shadows and enhancing your photo with a natural glow. Reflectors are available in various shapes and finishes, such as silver for bright highlights or gold for warm tones. They are a must-have for making the most of ambient and outdoor shooting environments.
-
Grids help control light spills. The beam concentration ensures dramatic effects. Meanwhile, snoots highlight narrow areas, attracting the viewers’ attention to specific features.
-
Continuous lights allow you to see the effect in real-time, making them great for beginners and video work. Strobe lights, on the other hand, offer high-intensity bursts. They provide greater control over exposure and can be particularly helpful for capturing subjects in motion.
-
Modifiers like beauty dishes, barndoors, and gels allow for even more creative possibilities. Beauty dishes soften the light while maintaining a directional quality. Barn doors help shape the light, while gels add vibrant colors for artistic effects.
Practical Tips
1. Adjust Your Setup for Better Shooting Conditions
Adjust your gear’s height and angle in a studio to avoid unflattering shadows. Outdoors, use the golden hour for a warm, soft glow. Capture interesting patterns or textures in the shadows for meaningful and dramatic shots. As you work, periodically step back to evaluate your setup and make adjustments. Check how the light interacts with your subject’s features, properly balancing the exposure.
2. Experiment with Light Source Placement
Start with basic setups like front lighting for a soft, evenly lit look. Then, progress to more dramatic options like side or backlighting. Furthermore, try portrait illumination techniques described in previous sections of this article. Compare how they shape your model’s features and affect the picture’s overall mood.
3. Master Light Ratios for the Right Effect
Balancing the brightness between your main light and fill light (if used) is crucial. A higher contrast ratio (e.g., 4:1) can create a dramatic, mysterious effect, while a softer ratio (e.g., 2:1) produces a more natural and flattering look.
Conclusion
Mastering portrait illumination is a meticulous combination of art and science. Every decision you make, from equipment selection to creative techniques, shapes the final image. With these recommendations, you can highlight features, set the mood, and create portraits that stand out with professional quality. Keep experimenting, stay curious, and let your mastery of light take your portrait photography to new heights.